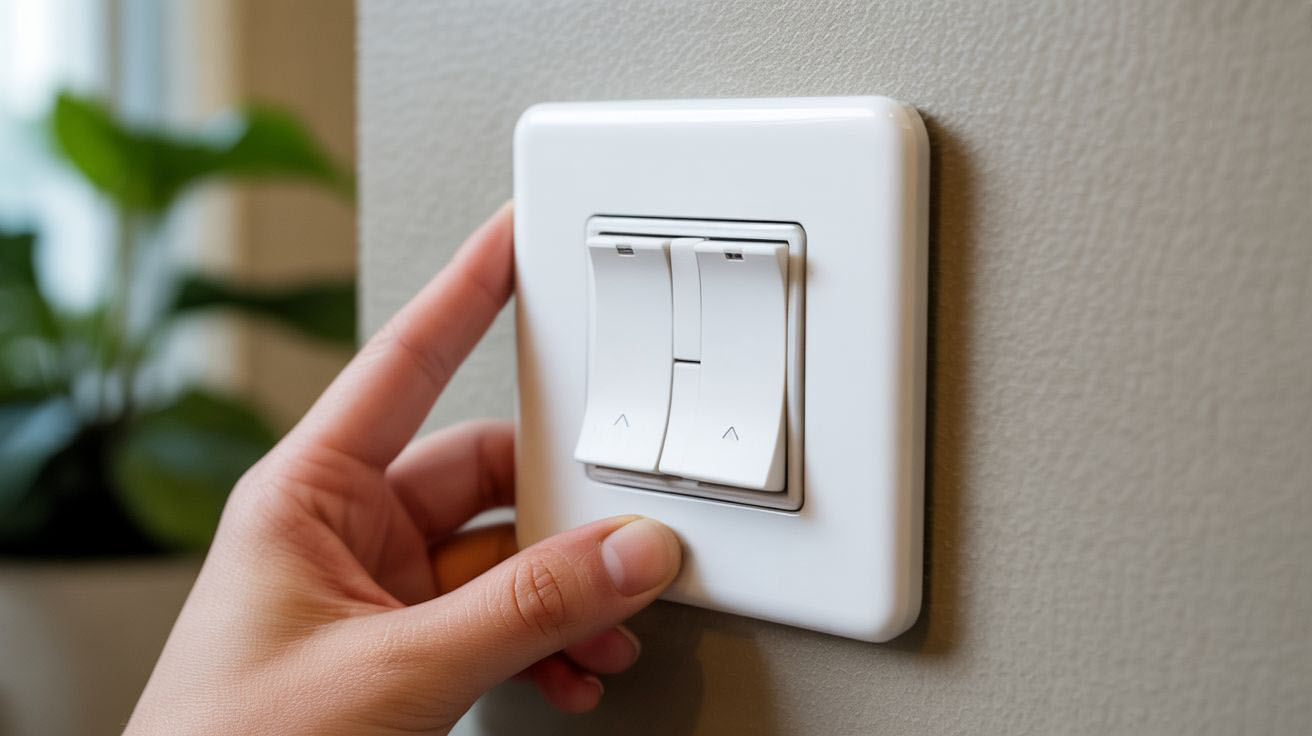
Are you looking to brighten up your home and make everyday living easier? Installing smart switches in your home offers a simple and effective way to control your lighting. Not only do these devices provide convenience, but they can also enhance your home’s energy efficiency. Let’s explore some easy DIY smart switch installation tips that anyone can follow.
Table of Contents
- Why Consider Smart Switches?
- What You Need for Installation
- Installation Steps
- Safety Tips to Keep in Mind
- Key Takeaways
- Frequently Asked Questions
- Take the Next Step for Your Home’s Safety
Why Consider Smart Switches?
Smart switches offer many benefits that enhance your living experience. They allow you to control your lights remotely, giving you the ability to turn them on or off from anywhere, using your smartphone. This feature can be beneficial for those late nights when you stumble into your home or for scheduling lights to go on and off automatically.
- Energy Savings: Smart switches can help you save on your electricity bills by allowing you to manage your lighting more efficiently.
- Convenience: You can create custom lighting scenes to match your mood or activity.
- Voice Control: Many smart switches are compatible with voice assistants, allowing for hands-free control.
With so many advantages, it’s no wonder homeowners are making the switch.
What You Need for Installation
To install a smart switch, you will need a few tools and materials. Gather the following items before starting the installation process:
- Smart Switch: Select a model that suits your needs and is compatible with your home’s setup.
- Screwdriver: A flat-head and Phillips screwdriver will usually be sufficient.
- Wire Strippers: These will help you connect the wires effectively.
- Voltage Tester: This is crucial for ensuring safety by checking if wires are live before you touch them.
- Electrical Tape: Use this to secure your connections.
Having these tools on hand will help the process go smoothly.
Installation Steps
Now that you have everything ready, it’s time for the installation. Follow these steps to ensure a successful setup:
- Turn Off Power: Before starting, go to your circuit breaker and turn off the power to the switch you will be replacing.
- Remove the Old Switch: Unscrew the old switch from the wall and gently pull it out. Take a moment to note how the wires are connected.
- Disconnect Wires: Use your screwdriver to detach the existing wires from the old switch. Remember which wire is which; labeling them may help.
- Connect New Smart Switch: Follow the wiring instructions included with your smart switch. Typically, you will connect the wires to the same corresponding terminals on your new switch.
- Secure the Switch: Once wired correctly, push the switch back into the wall and secure it with screws.
- Turn the Power Back On: Go back to your circuit breaker and restore power to the switch.
After installation, follow the app instructions for setup, including connecting to Wi-Fi and customizing settings.
Safety Tips to Keep in Mind
Your safety is paramount when working with electrical fixtures. Here are some tips to ensure you stay safe during the installation:
- Always turn off the power at the breaker before handling any electrical wiring.
- Use a voltage tester to double-check that the wires are not live.
- If you are unsure, consult a professional electrician to avoid potential hazards.
- Wear rubber-soled shoes and stand on a dry surface when working with electricity.
These simple precautions can prevent accidents and ensure a smooth installation.
Key Takeaways
– Smart switches enhance convenience and energy efficiency in your home.
– Basic tools required include a screwdriver, wire strippers, and a voltage tester.
– Follow step-by-step instructions for safe installation.
– Always prioritize safety by turning off power and using a voltage tester.
Frequently Asked Questions
Can I use smart switches with regular bulbs?
Yes, smart switches can typically work with standard light bulbs. However, confirm compatibility with your specific switch model.
What if I have three-way switches?
Many smart switches can be used for three-way setups, but you may need a specific type designed for this purpose. Check the product description for details.
Are smart switches easy to install?
Yes, they are designed for DIY installation. As long as you follow the instructions, you should have a smooth experience.
Can I control my smart switch without Wi-Fi?
Most smart switches require Wi-Fi for full functionality, but some models offer Bluetooth options that enable local control.
What if my lights flicker after installation?
Flickering lights may indicate loose wiring or compatibility issues. Double-check the wiring and consult the user manual for troubleshooting tips.
Take the Next Step for Your Home’s Safety
Ready to enjoy the benefits of smart switches? With the right tools and steps, you can make your home more innovative and more efficient. If you encounter difficulties or would prefer to leave the installation to a professional, feel free to reach out for help. Contact us today for safe and efficient electrical services for your home.

