Outdoor lighting plays a significant role in enhancing both security and aesthetics for your property. A well-planned lighting setup can deter intruders while adding visual appeal to your outdoor spaces.
Table of Contents
- The Importance of Outdoor Lighting
- Planning Your Outdoor Lighting Layout
- Types of Outdoor Lights
- Step-by-Step Installation Guide
- Maintaining Your Outdoor Lights
- Key Takeaways
- FAQs
- Take the Next Step for Your Home’s Safety
The Importance of Outdoor Lighting
Outdoor lighting serves multiple purposes. Primarily, it enhances security by illuminating dark areas around your home. Well-lit spaces make it more challenging for intruders to hide, thereby making your home less attractive to potential threats.
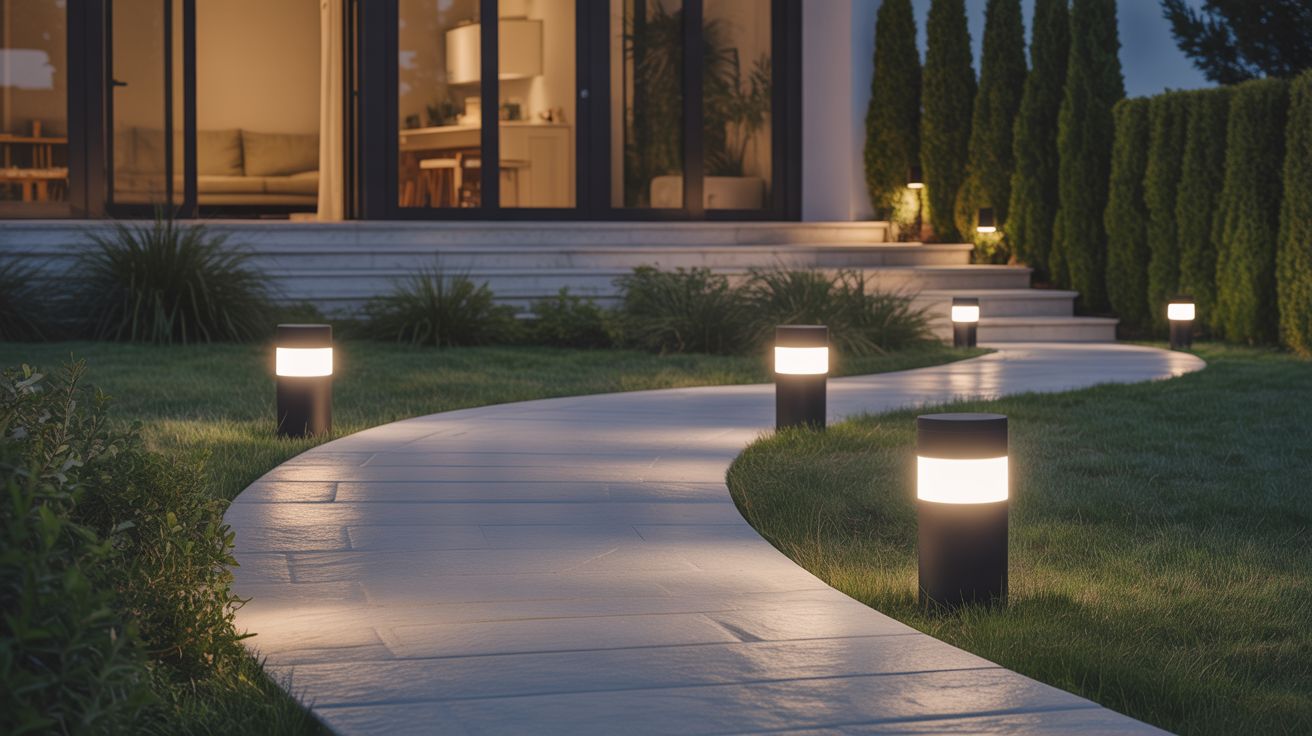
Moreover, it adds beauty to your property by highlighting landscaping features, pathways, and architectural details. Proper lighting can also create a welcoming atmosphere for guests and improve overall curb appeal.
Planning Your Outdoor Lighting Layout
Before installing your outdoor lights, it’s essential to have a clear plan. Start by assessing your property. Identify areas that require lighting, such as entryways, driveways, patios, and gardens. Create a list of spots that could benefit from illumination.
Consider the intensity and type of lighting that each area will need. For example, bright security lights may be essential near entry points, while softer lights might work better in gardens or along pathways.
Types of Outdoor Lights
Understanding the different types of outdoor lights can help you make informed choices for your home. Here are a few options:
- Motion Sensor Lights: Activate when movement is detected, providing both security and convenience.
- Flood Lights: Offer broad illumination, ideal for large areas.
- Pathway Lights: Guide visitors safely along walkways and driveways.
- Wall Lights: Mounted on walls to illuminate entrances or outdoor seating areas.
- String Lights: Create a festive atmosphere ideal for patios or decks.
Step-by-Step Installation Guide
Once you’ve identified the right lighting options, follow this step-by-step guide for installation:
1. Gather Necessary Tools and Materials
You’ll need the following items:
- Outdoor lights
- Mounting brackets (if necessary)
- Wire connections
- Electrical tape
- Wire cutters
- Drill
- Screwdriver
- Level
2. Turn Off Power
Safety first! Ensure that the main power supply to the area you are working on is turned off. This step prevents any electrical accidents during installation.
3. Prepare Installation Points
Mark where each light will be installed. Use a level to ensure that lights are mounted evenly. For pathway lights, consider spacing them evenly to provide consistent illumination.
4. Install the Lights
Follow the manufacturer’s instructions for each type of light. Attach mounting brackets as necessary and secure the lights in place. Ensure they are tightly fastened to avoid any accidents.
5. Connect the Wires
Carefully connect the wires as per your plan. Use wire connectors to secure the connections and electrical tape for insulation. Ensure that there are no exposed wires.
6. Turn On Power and Test
Once you’ve completed the installation, turn the power back on. Test each light to ensure they are functioning correctly. You may need to adjust placement or angle for optimal lighting.
Maintaining Your Outdoor Lights
Once installed, regular maintenance ensures that your outdoor lights continue to function well. Start by checking for any damaged bulbs or fixtures and replace them when necessary.
Clean the fixtures periodically to remove dirt, grime, or debris that may block light. Additionally, inspect the wiring for any signs of wear or corrosion. Keeping your lights in good shape ensures safety and prolongs their lifespan.
Key Takeaways
- Outdoor lighting enhances both security and property appearance.
- Planning is crucial for effective outdoor lighting installation.
- Different types of lights serve various purposes.
- Installation requires careful preparation and following safety protocols.
- Regular maintenance keeps your outdoor lighting functional and beautiful.
FAQs
How long do outdoor lights typically last?
The lifespan of outdoor lights varies depending on the type. LED lights can last up to 25,000 hours, whereas traditional bulbs typically last only 1,000 hours.
Should I hire a professional electrician for installation?
If you’re not comfortable with electrical work, it’s best to hire a professional. They ensure safety and compliance with local codes.
What is the most effective type of outdoor lighting for security?
Motion sensor lights and flood lights are highly effective for enhancing security around your property.
Can I use indoor lights outdoors?
No, indoor lights are not designed to withstand outdoor conditions and can pose safety hazards. Always use outdoor-rated fixtures.
How much does it cost to install outdoor lighting?
Costs vary based on the number of lights, their type, and the complexity of the installation. On average, homeowners can expect to pay between $100 to $1,800.
Take the Next Step for Your Home’s Safety
Implementing outdoor lighting is a smart move for security and aesthetics. If you need assistance or want professional help, contact us. We’re ready to help make your outdoor spaces safer and more inviting!

